How to Assess Your Electrical Panel Before a Major Renovation
Planning a major home renovation can be exciting. New kitchen, additional bedroom, or a home office with all the latest appliances. But before you start knocking down walls or picking out countertops, there is one thing that needs attention: the electrical panel. This is the heart of your home's electrical system. If the panel cannot handle the extra load your renovation will demand, you are looking at tripped breakers, flickering lights, and possibly expensive delays. Getting a clear picture of your current panel capacity is the critical first step.
This article walks through the process of evaluating your panel so you know exactly what you are working with. The steps are straightforward, but each one requires care. The goal is to avoid surprises later and to ensure your new space works safely and reliably.
Step 1: Locate and Inspect the Main Panel
Start by finding your main electrical panel. It is usually in a basement, garage, utility room, or on an exterior wall. Open the door carefully. You will see rows of circuit breakers, each labeled with the area or appliance it serves. A quick visual check tells you a lot. Look for rust, corrosion, or signs of old wiring. If the panel looks like it has been there for decades, the internal components may be outdated. Pay attention to the main breaker size, which is the large switch at the top or bottom. That number, usually printed on the breaker handle or nearby label, tells you the maximum current the panel can supply to your whole home. Common sizes for older homes are 100 or 150 amps, while newer homes often have 200 amps or more.
Step 2: Make a List of Everything That Runs on Electricity
Now, walk through your home and write down every electrical device that is plugged in or hardwired. Include lights, outlets, appliances, the furnace, air conditioner, water heater, well pump, and any electric vehicle charger if you have one. Be thorough. For the renovation itself, list the new items you plan to add. This might be a heat pump for heating and cooling, a second refrigerator, a home theater system, or a dedicated circuit for a workshop. The more detailed your list, the better your load calculation will be. Do not forget small things like phone chargers and kitchen gadgets. They add up.
Step 3: Perform a Load Calculation
Load calculation is the process of adding up the electrical demand of everything in your home. This is not a simple sum of all the wattages. The electrical code uses a method that accounts for the fact that not everything runs at the same time. For a rough idea, start with the square footage of your home. The code assigns a certain number of volt-amps per square foot for general lighting and outlets. Then add the loads for major appliances: the range, water heater, dryer, air conditioner, and any other large equipment. Each of these has a specific rating in watts or amps, which you can find on the nameplate. Convert everything to amps at the same voltage, usually 240 volts for large appliances and 120 volts for smaller ones. The total gives you an estimated panel capacity needed. If the number is close to or above the main breaker rating, you likely need an upgrade.
One thing to watch here: do not guess the numbers. If you are unsure about a device's rating, look it up online or check the manual. The accuracy of your calculation matters. A mistake can mean either an undersized panel that trips frequently or an oversized one that wastes money.
Step 4: Consider Future Additions
If your renovation is large, it is smart to think ahead. Maybe you plan to add solar panels in a few years, or you want to install an electric vehicle charger later. These additions will increase your electrical load. Even if they are not part of the current project, planning for them now can save you money and hassle. If your panel capacity assessment shows you are near the limit, it may be worth upgrading to a larger panel now, rather than doing a second upgrade later. The same goes for a subpanel. If your renovation is far from the main panel, running a large feeder cable to a subpanel in the new area can simplify wiring and reduce voltage drop. A subpanel also allows you to dedicate circuits to the new space without overloading the main panel.
Step 5: Check Service Size and Conductor Capacity
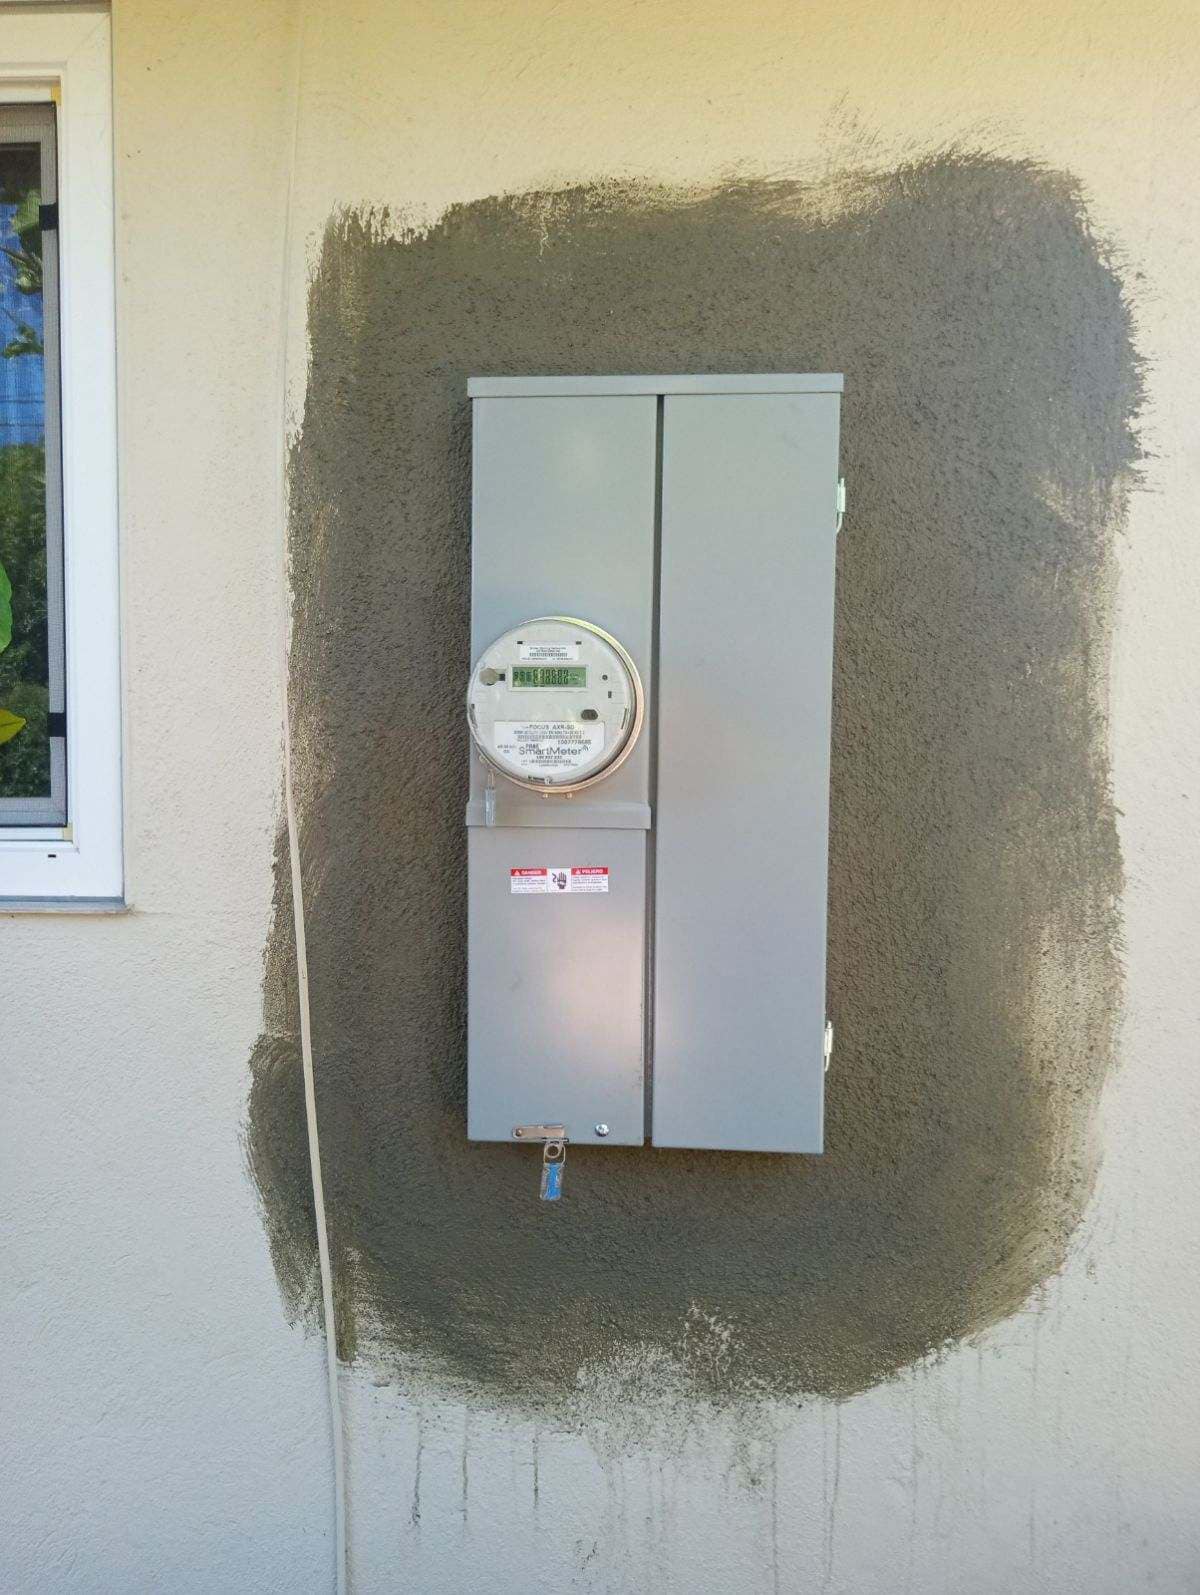
The panel itself is only part of the story. The service entrance cables, which run from the utility pole or underground transformer to your meter and then to the panel, must be large enough to carry the required current. If you upgrade the panel to a higher amp rating but the service conductors are too small, the whole system is still limited. This is where a load calculation becomes essential. The electrician will check the wire size and compare it with the calculated load. In many older homes, the service size is 100 or 150 amps. For a modern renovation that adds a heat pump, an electric vehicle charger, and a new kitchen, 200 amps is often the minimum. The utility company may also need to upgrade their transformer if the new load is substantial. That process can take weeks, so start early.
At this point, you might see why a professional is needed. Wooding Electric provides electrical panel assessments, upgrades, replacements, and related electrical capacity work for homes and businesses in Santa Clara and nearby Bay Area communities. Their team can walk through the load calculation with you and determine if your service size is adequate. But the same principle applies anywhere: the assessment must be accurate, and the upgrade must follow code.

Step 6: Plan for Dedicated Circuits
Certain appliances and equipment require a dedicated circuit. That means a breaker and a wire running only to that device, with nothing else on the same circuit. Common examples include a refrigerator, dishwasher, microwave, furnace, air conditioner, heat pump, and electric vehicle charger. During your renovation, you will likely need several dedicated circuits. This adds to the total number of breaker slots needed in the panel. If your panel is full or nearly full, you have two options: add a subpanel, or replace the main panel with a larger one. A subpanel is often the simpler solution if the main panel is in good condition and has capacity at the main breaker. It also keeps the wiring organized and reduces the clutter in the main panel.
Step 7: Evaluate the Panel's Location and Access
The location of the panel matters for safety and convenience. It should be in a place that is dry, well-lit, and easily accessible. If your renovation moves walls or changes the layout, the panel might end up in an awkward spot. In some cases, code requires that the panel remain accessible without moving furniture or climbing over obstacles. If the panel is in a closet that will become part of a new bathroom or kitchen, you may need to relocate it. That is a bigger job, but it is easier to do during a renovation than after everything is finished. Discuss the panel location with your contractor early in the planning phase.
Step 8: Get a Professional Panel Capacity Assessment
By this point, you have a good idea of your home's electrical needs. The final step is to have a licensed electrician perform a formal panel capacity assessment. They will use a meter to measure the actual load during peak usage, verify the wire sizes, and check for any code violations. They will also look for signs of overheating, such as discolored insulation or melted components. This assessment gives you a clear answer: can your existing panel handle the renovation, or does it need an upgrade? The electrician can also provide a written report that you can share with your contractor and the building department if permits are required. This is not the time to cut corners. A proper assessment protects your investment and your family's safety.
If the assessment shows that an upgrade is necessary, the electrician will outline the options. That might be a larger main breaker, a new panel with more spaces, or a service upgrade from the utility. The cost and timeline vary, but the result is a system that can safely power your new space without problems. Wooding Electric offers these services in the Bay Area, but the same process applies everywhere. The key is to do it before construction begins, so the electrical work can be integrated into the renovation schedule.
Final Checks Before You Start
Once the panel capacity is confirmed, there are a few things to verify. Make sure the panel has enough spare breaker slots for the new circuits. If you are adding a subpanel, confirm that the main panel has an available double-pole breaker to feed it. Check that the grounding and bonding are up to code. Older panels sometimes lack a proper ground, which is a safety hazard. Finally, review the plan with your electrician and contractor to ensure all the new loads are accounted for. A small oversight, like forgetting to include a garbage disposal, can cause a circuit to overload later.
Preparing an electrical panel for a major renovation is not the most glamorous part of the project, but it is one of the most important. A thorough panel capacity assessment, done early, saves time, money, and frustration. It ensures that your new kitchen, addition, or home office runs smoothly and safely. Take it step by step, and do not hesitate to call in a professional when the numbers get complicated. Your future self will thank you.